How to Choose and Use a Compact Helmet Dryer: A Commuter’s Guide to Fast‑Drying, Odor‑Free Helmets
Introduction
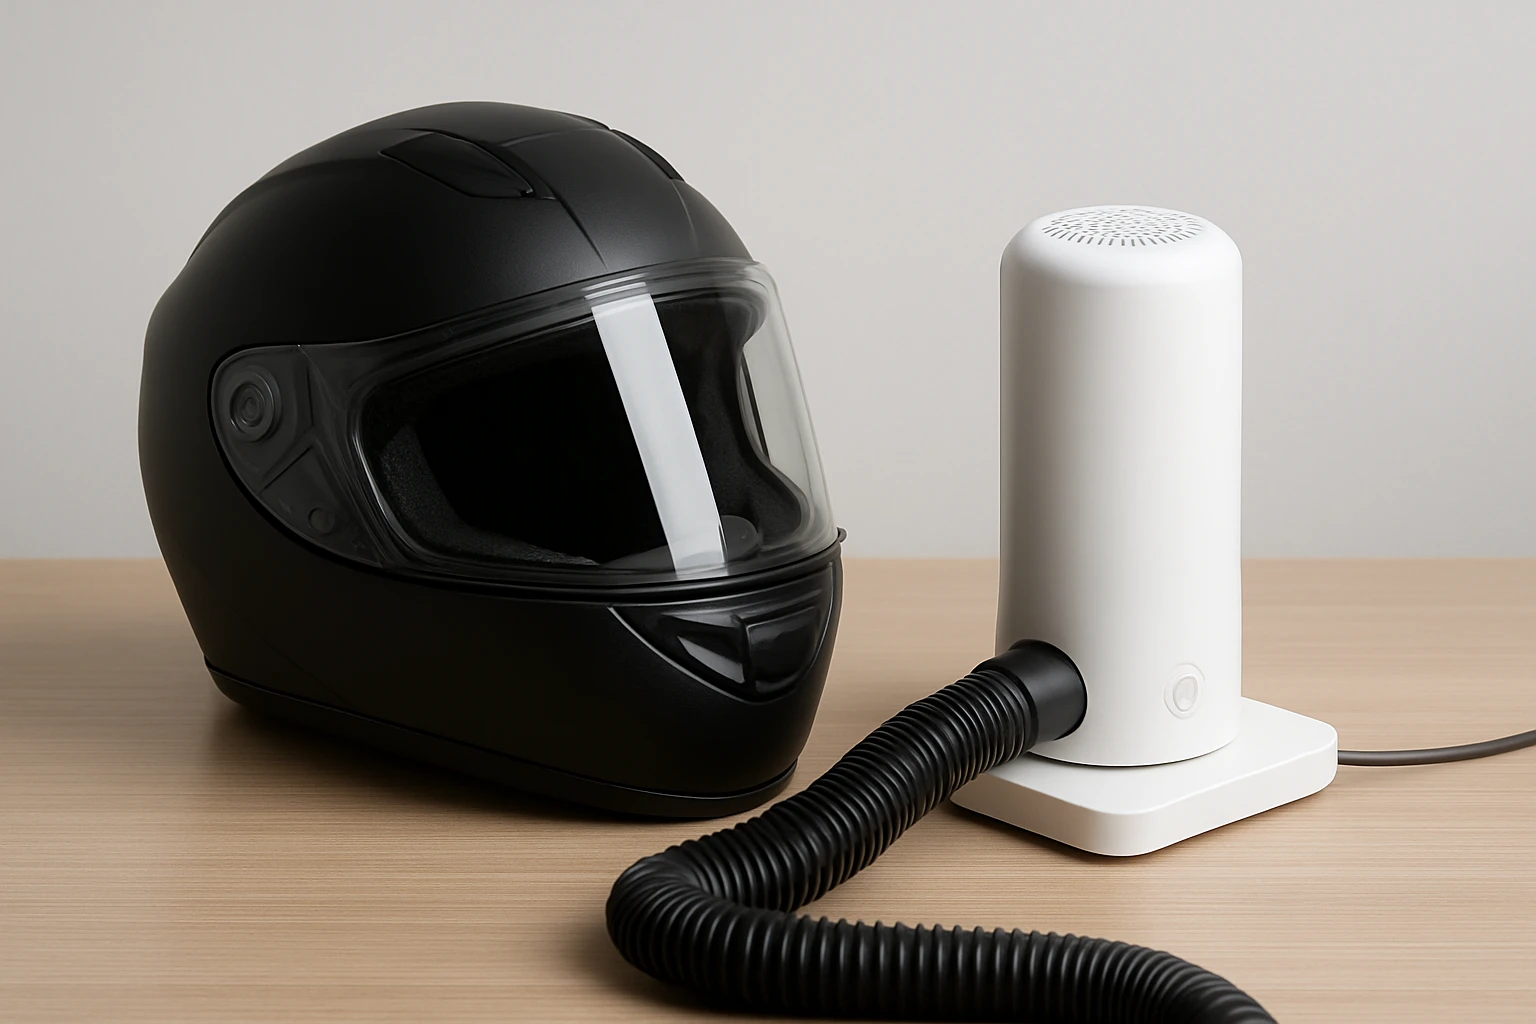
Commuters who rely on helmets for safety often struggle with moisture and lingering odors after a rainy ride. This guide explains how to select a compact helmet dryer, set it up correctly, and maintain a fresh‑smelling helmet. Readers will learn the criteria for evaluating dryer performance, step‑by‑step usage instructions, and best‑practice tips for long‑term hygiene. By following these instructions, one can reduce drying time, prevent mold growth, and enjoy a pleasant ride every day.
What You’ll Need
- Compact helmet dryer (electric or battery‑powered)
- Micro‑fiber cleaning cloth
- Gentle soap or helmet‑safe cleanser
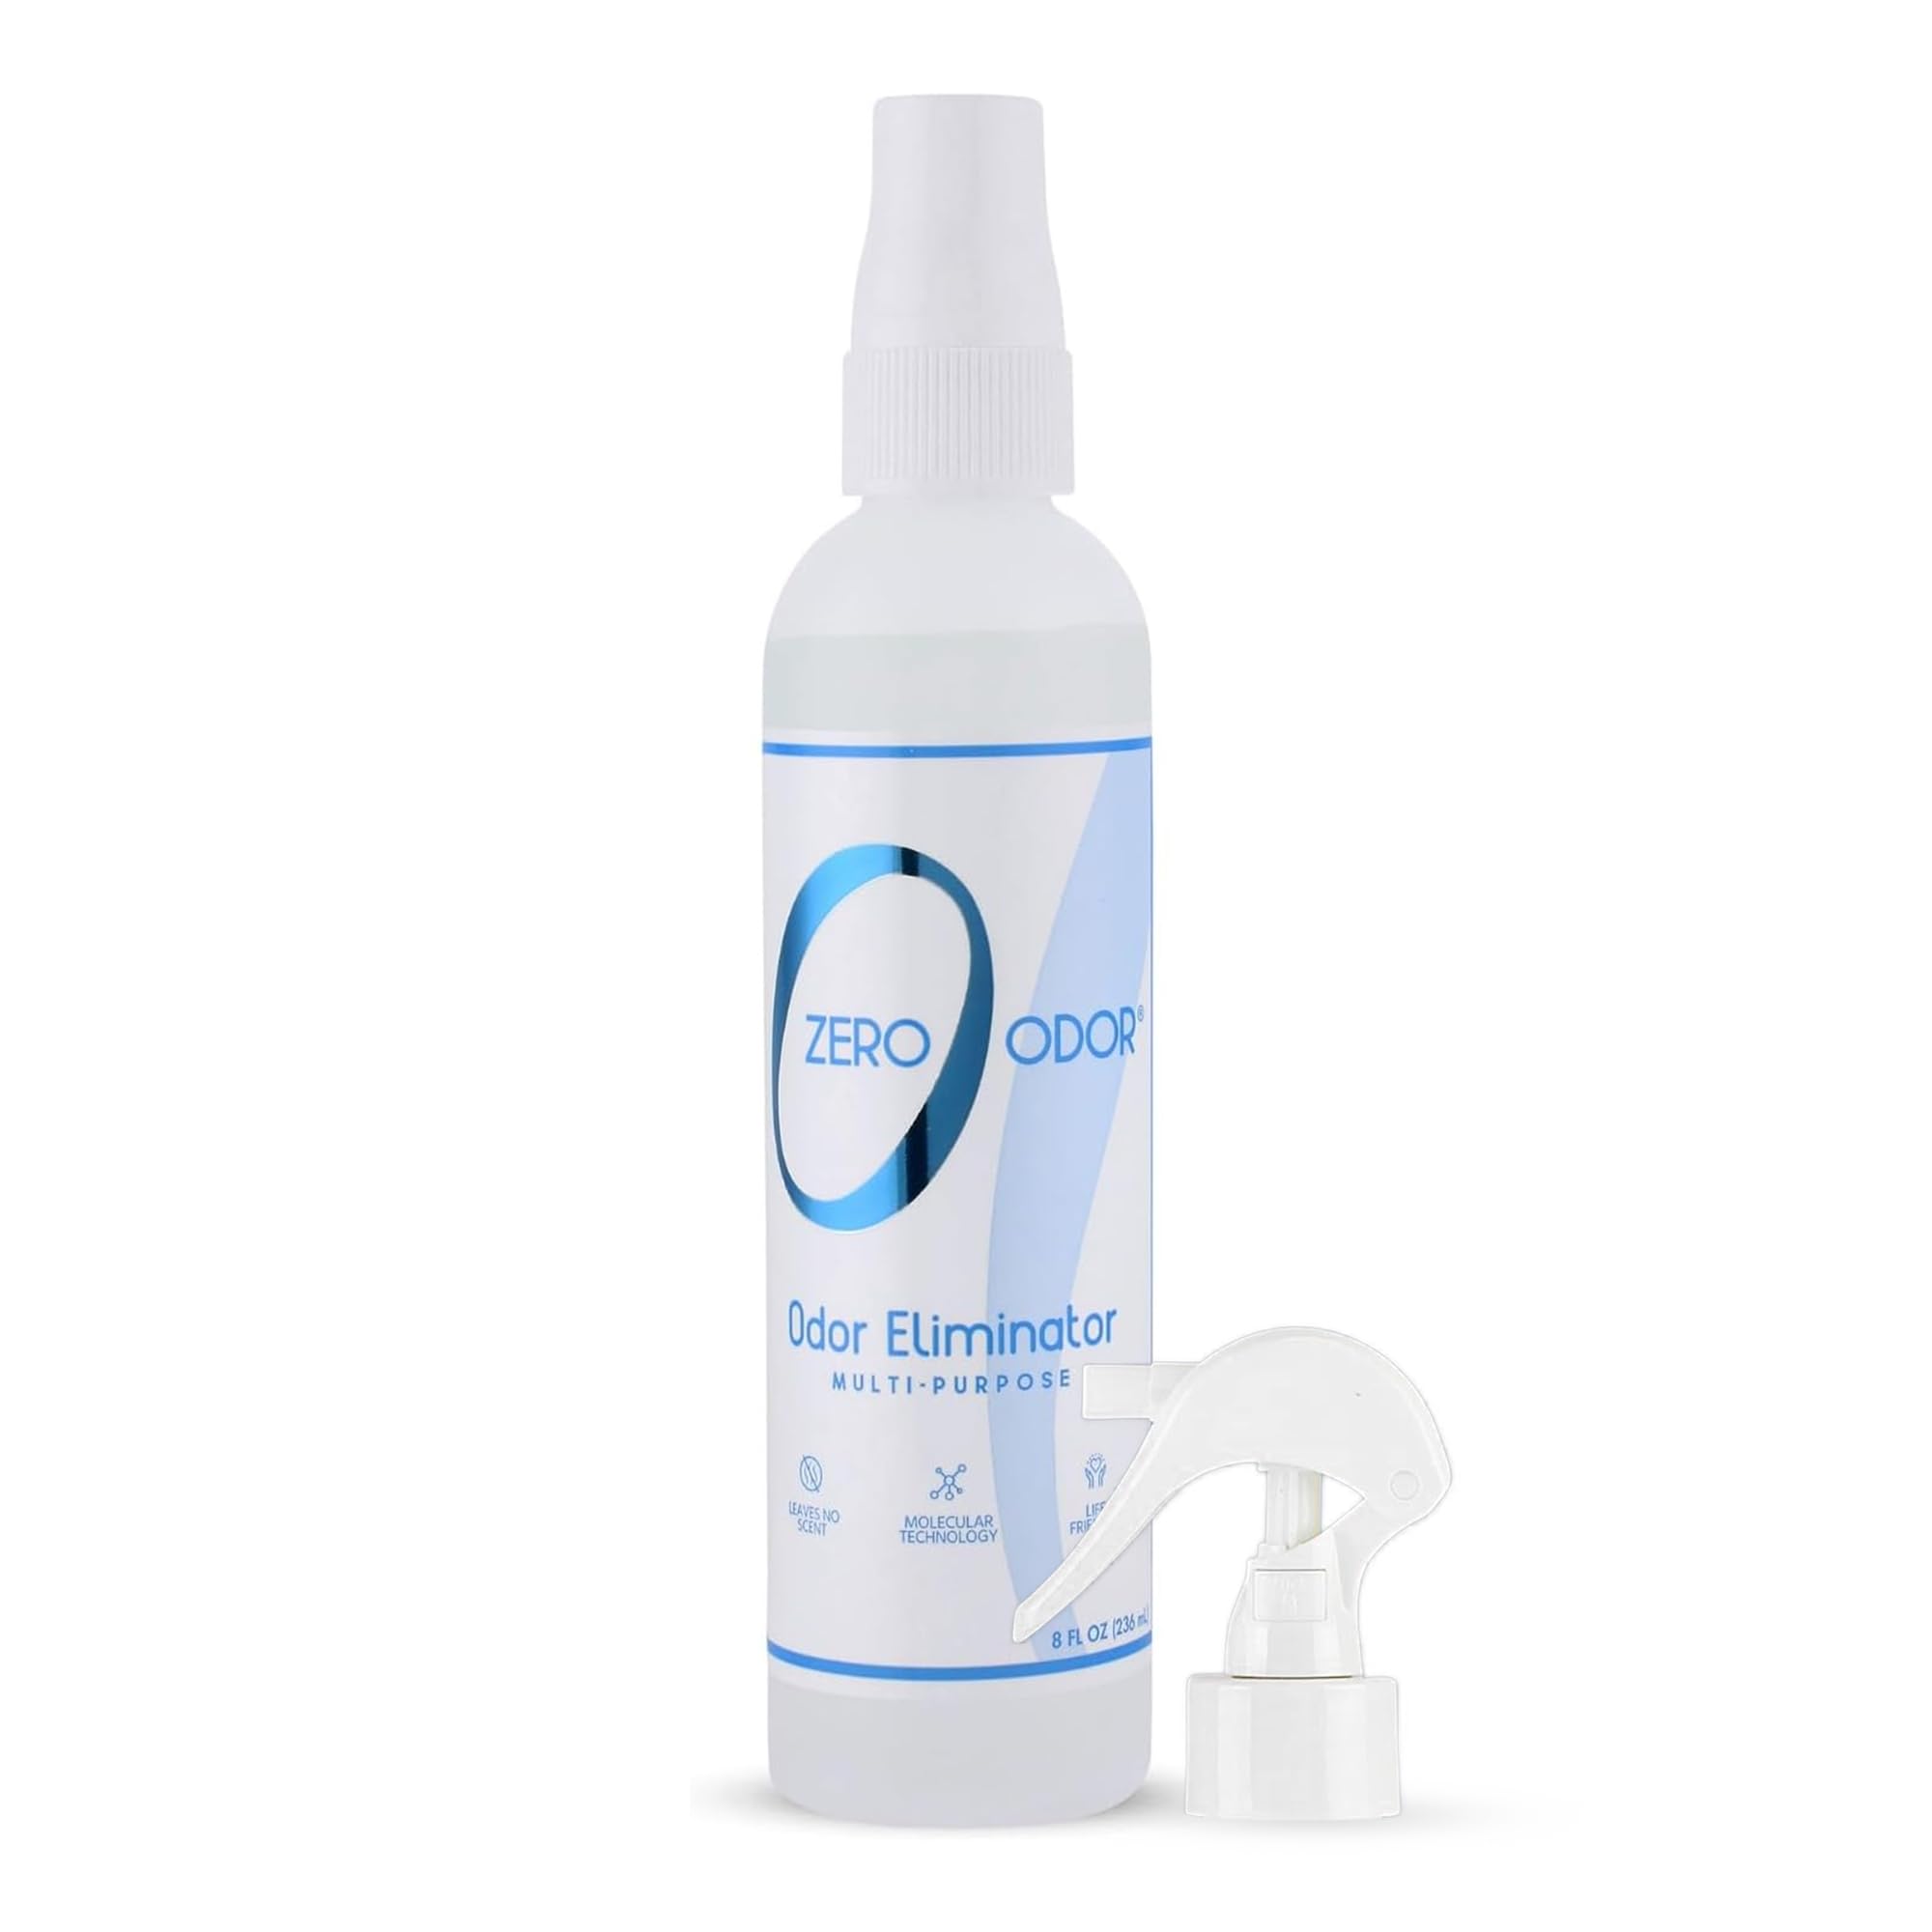
- Zero Odor Multi‑Purpose Odor Eliminator
- Power outlet or USB charging source (depending on dryer model)
Step‑by‑Step Instructions
1. Assess Your Helmet’s Material and Size
The first step is to identify the helmet’s construction—polycarbonate shell, EPS foam liner, or a hybrid design. Different materials react uniquely to heat and airflow. One should measure the internal volume to ensure the dryer’s airflow capacity matches the helmet’s size. Selecting a dryer with adjustable airflow prevents overheating of delicate foam while still delivering rapid moisture removal.
2. Choose a Compact Dryer That Fits Your Lifestyle
When evaluating dryer models, consider three core factors: power consumption, noise level, and portability. A dryer that consumes less than 30 W is ideal for apartment use and will not significantly increase electricity costs. Noise below 45 dB allows operation while preparing for work without disturbance. Finally, a foldable or lightweight unit (under 2 lb) can be stored in a backpack or under a desk.
For commuters who travel by public transit, a USB‑powered dryer offers the flexibility to charge from a laptop or power bank. Those with a dedicated garage may prefer a plug‑in model with a built‑in timer for automated cycles.
3. Set Up the Dryer in a Well‑Ventilated Area
Place the dryer on a stable surface near a power source, ensuring at least six inches of clearance on all sides for airflow. One should avoid enclosed cabinets that could trap heat and reduce efficiency. If the dryer includes a hanging hook, attach the helmet by its straps rather than the shell to maintain even air distribution.
Before the first use, run the dryer empty for two minutes to confirm quiet operation and to clear any manufacturing dust.
4. Prepare the Helmet for Drying
Begin by removing any removable padding or interior liners. Gently wipe the interior with a micro‑fiber cloth dampened with a mild soap solution. This removes sweat and surface grime without degrading the foam. Rinse the cloth with clean water, then wipe again to eliminate soap residue. Allow the interior to air‑dry for a minute before inserting it into the dryer.
Cleaning the exterior with a soft cloth prevents dust buildup on the dryer’s vents, which could impair airflow over time.
5. Operate the Dryer According to Manufacturer Settings
Most compact dryers feature three speed settings: low, medium, and high. For a standard commuter helmet, the medium setting balances speed and safety. Start the dryer, then place the helmet on the holder or hang it as instructed. A typical drying cycle lasts between 10 and 15 minutes, depending on ambient humidity.
Many models include an automatic shut‑off timer; one should enable this feature to avoid prolonged exposure to heat, which could compromise foam integrity.
6. Eliminate Residual Odors with a Specialized Odor Eliminator
Even after thorough drying, helmets can retain faint odors from sweat or environmental pollutants. At this stage, applying Zero Odor Multi‑Purpose Odor Eliminator is highly effective. This product uses patented technology to neutralize odor molecules rather than masking them with fragrance.
One should spray a light mist inside the helmet’s interior, focusing on the foam liner and ventilation ports. The temporary “tracer scent” indicates coverage and quickly dissipates, leaving no lingering fragrance. The formula contains no bleach or chlorine, making it safe for all helmet materials. At a price of $8.99 and a rating of 4.2 out of 5 stars from over 32,000 reviews, it offers a cost‑effective solution for daily commuters.
7. Reassemble and Store the Helmet Properly
After the odor‑eliminating spray has dried—typically five minutes—replace any removed padding or liners. Store the helmet in a breathable bag rather than a sealed plastic case to prevent moisture buildup. If space permits, keep the dryer plugged in (with a timer) to maintain a low‑level airflow that discourages mold growth.
Regularly inspect the helmet for cracks or worn straps, as a well‑maintained helmet contributes to overall safety.
Tips & Pro Tips
- Use the dryer immediately after a ride; the longer moisture remains, the higher the risk of odor formation.
- For helmets with removable visors, dry the visor separately to avoid uneven heating.
- Apply the odor eliminator sparingly; excess liquid can saturate foam and reduce its impact‑absorbing properties.
- Rotate the helmet within the dryer halfway through the cycle to ensure uniform drying.
- Consider a small dehumidifier in the storage area during humid seasons to complement the dryer’s effectiveness.
Troubleshooting
Problem: Helmet remains damp after a full cycle.
Solution: Verify that the dryer’s vents are not blocked, increase the setting to high, and ensure the helmet is positioned to allow airflow to the interior.
Problem: Persistent odor despite using the odor eliminator.
Solution: Perform a deep clean with a helmet‑safe cleanser, rinse thoroughly, and repeat the drying process. If odor persists, the foam may be compromised and require replacement.
Conclusion
By selecting a compact helmet dryer that matches one’s power and noise preferences, preparing the helmet correctly, and employing a proven odor‑neutralizing spray, commuters can achieve fast drying and a fresh‑smelling helmet after every ride. Consistent maintenance extends the helmet’s lifespan, preserves safety performance, and enhances the overall riding experience. One should adopt these practices to enjoy reliable protection without the inconvenience of moisture or unpleasant smells.
Products Mentioned in This Guide
Frequently Asked Questions
What factors should I consider when choosing a compact helmet dryer?
Look for size compatibility, drying speed, power source (plug‑in or USB), noise level, and safety features like automatic shut‑off.
How do I set up a compact helmet dryer for the first time?
Place the dryer on a stable surface, plug it into the appropriate outlet or connect the USB, and follow the manufacturer’s instructions for airflow direction.
Can I use a battery‑powered dryer on the go?
Yes, battery‑powered models are ideal for commuters; just ensure the battery is fully charged before each ride.
What is the best way to prevent odors after drying my helmet?
After cleaning, apply a spray like Zero Odor Multi‑Purpose Odor Eliminator and let the helmet dry completely in the dryer.
How often should I maintain my helmet dryer?
Wipe the interior vents with a dry cloth weekly and inspect the power cord or USB cable for wear every month.